
Conquering Kilimanjaro: 7-Day Journey to the Roof of Africa
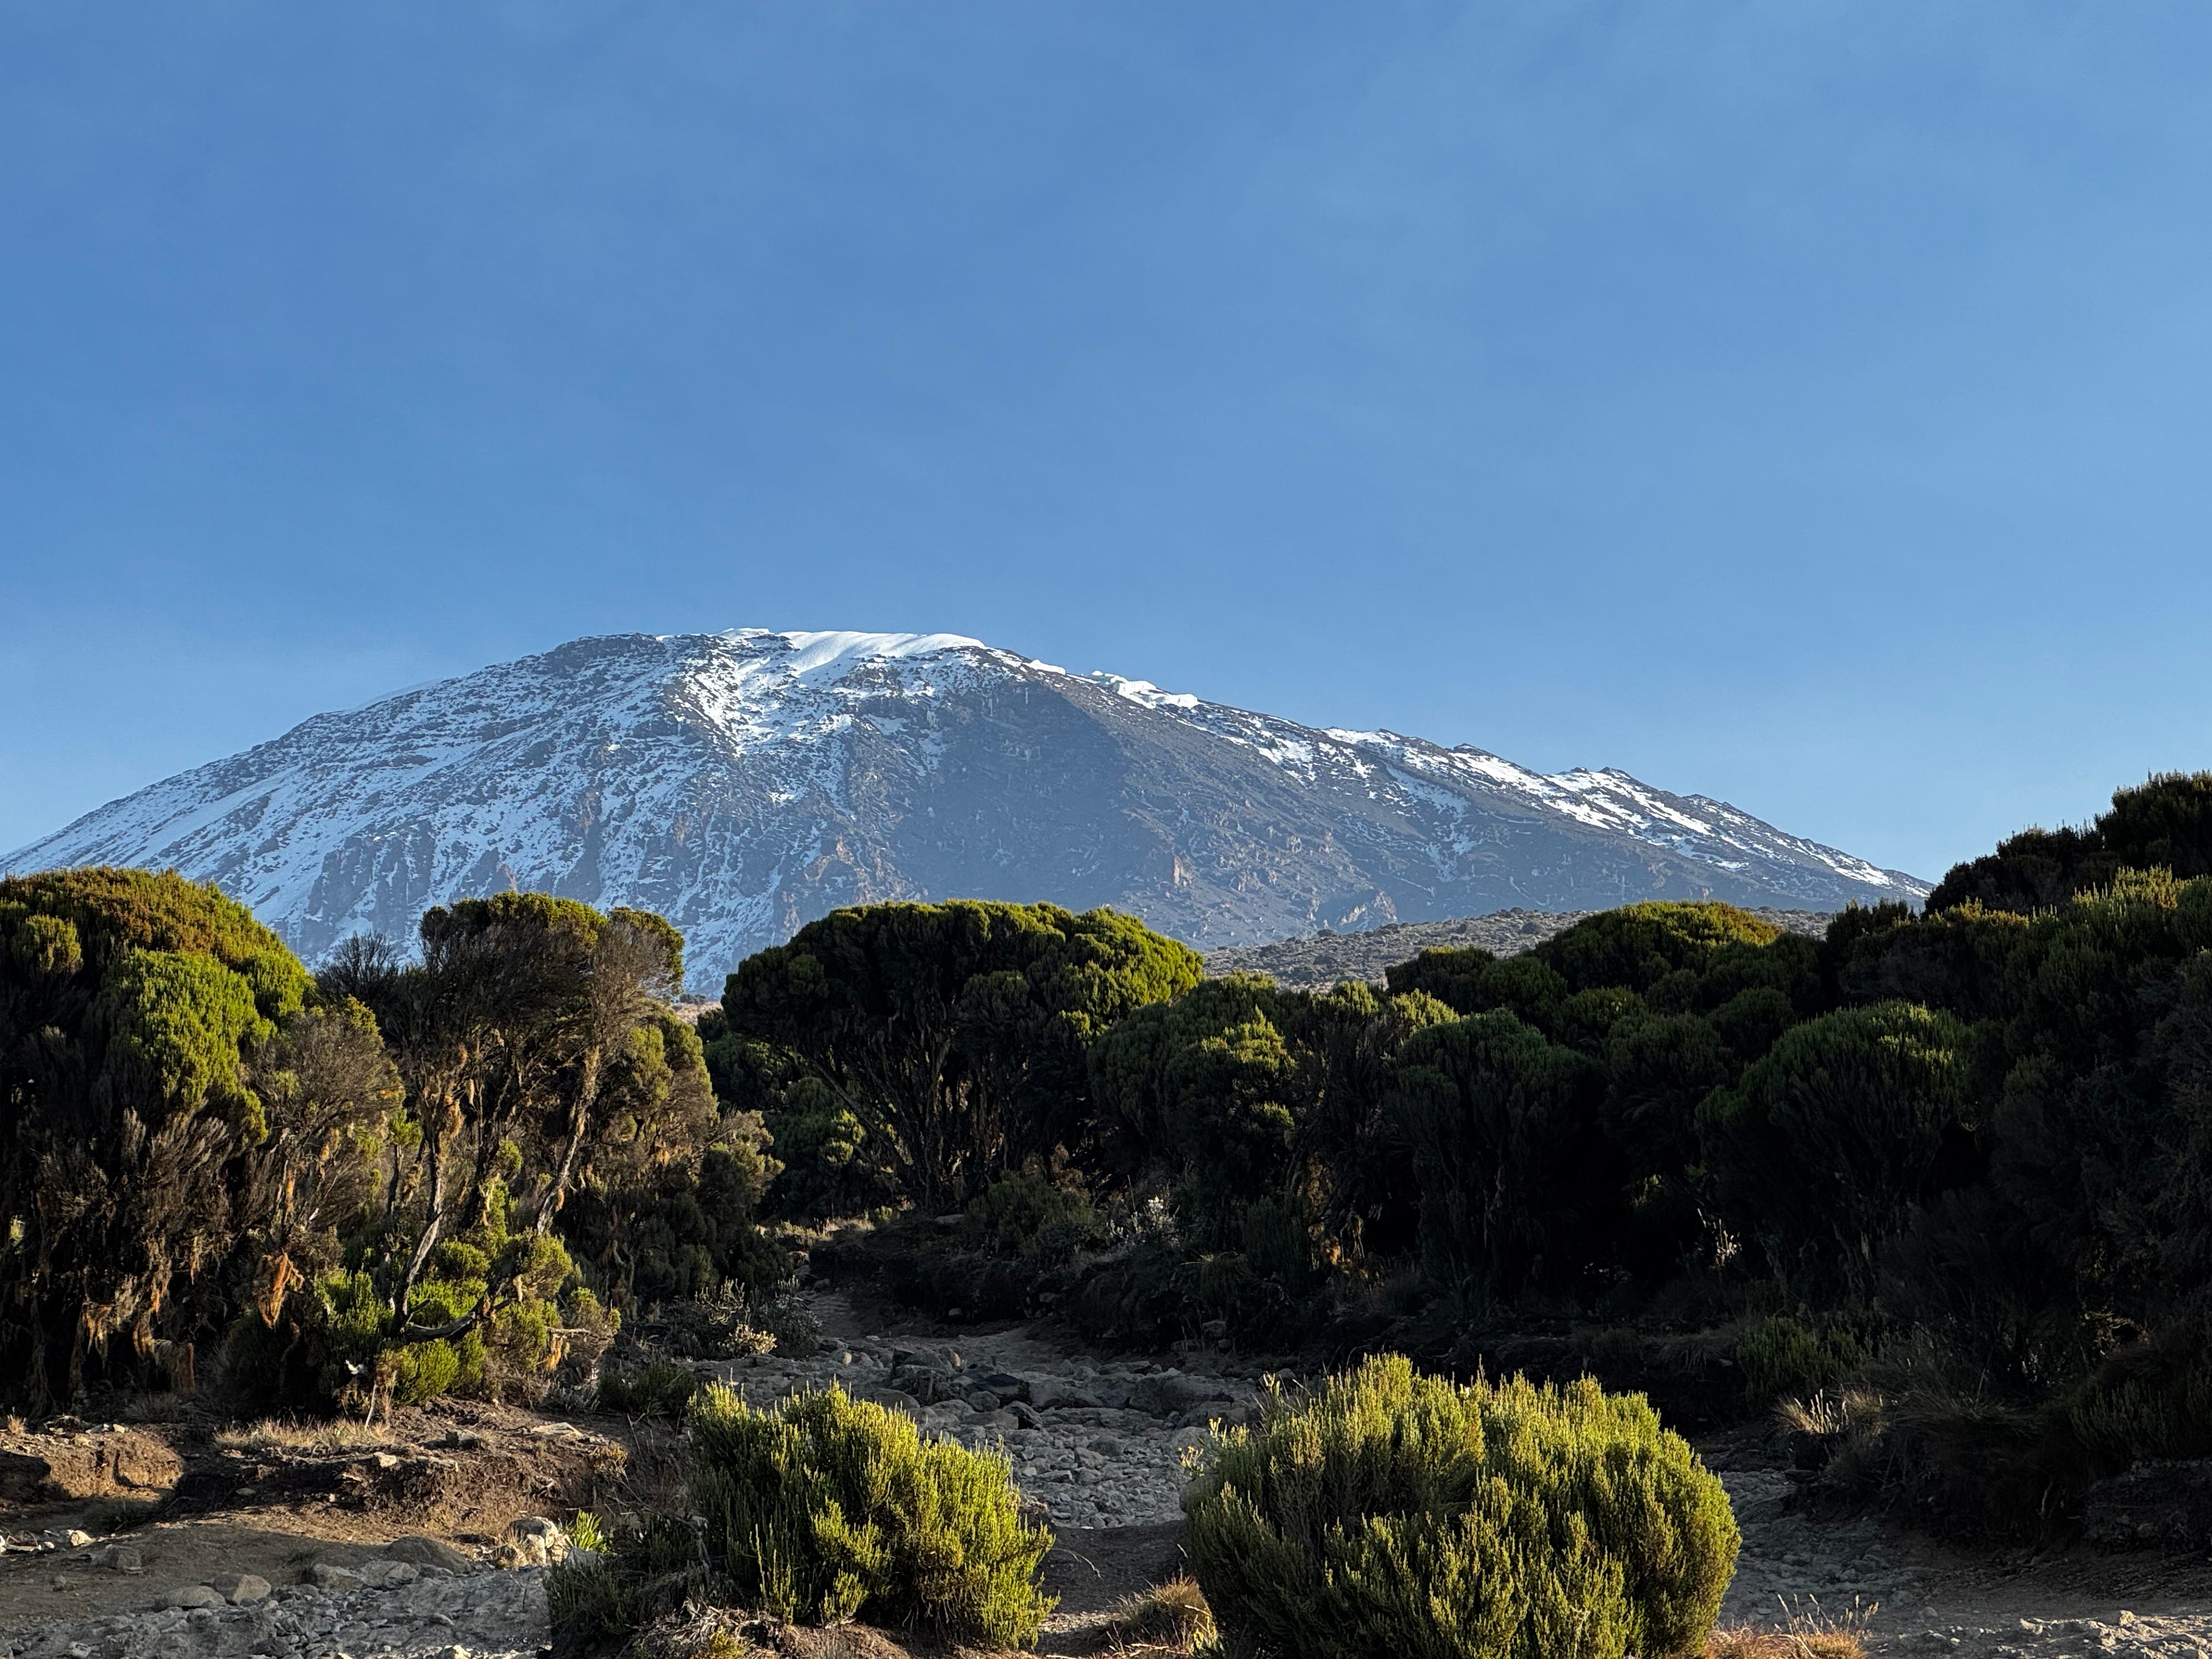
Climbing Mount Kilimanjaro, the highest free-standing mountain in the world at 19,341 feet, was more than just a trek, it was a test of endurance, preparation, teamwork, and spirit. Over seven days, covering close to 70 km, enduring freezing winds, sleepless nights, and an unforgettable 11-hour summit push, I experienced the journey of a lifetime. Here’s a complete breakdown of my experience, every detail, every lesson, and every memory.
Making the Commitment
Every journey starts with a decision, and for Kilimanjaro, that first decision is not about boots or jackets, it’s about commitment. Until you commit, everything else feels like daydreaming. The moment you put down a small advance payment or book that refundable flight, the trek stops being an idea and starts becoming real.
One of the hardest questions at this stage is who to climb with. Do you go with friends you already know? Do you find an existing group and join them? Or do you sign up solo and trust the mountain to connect you with new people? Whatever the choice, the group matters more than you think, the right team can make the difference between a miserable climb and an unforgettable adventure.
We evaluated multiple trekking companies, comparing packages, reviews, and recommendations. Eventually, we chose Pamoja Kilimanjaro & Safaris (Pamoja fittingly means together). It turned out to be one of the best decisions we made. The guides were attentive and kind, the porters tireless and cheerful. They carried our loads, sang along the trail, taught us Swahili, and lifted our spirits when altitude tried to bring us down.
That said, I did notice a few other companies on the trail that looked a bit more “professional” or premium, for example, Alteeza. But honestly, I don’t think they offered anything significantly different from what we got.
Here’s the most important advice I can give anyone planning Kilimanjaro: go for the luxury package. It might cost a few hundred dollars more, but the difference it makes is enormous:
Private toilets instead of crowded shared ones.
A comfortable 4-star hotel stay before and after the trek.
Extra porters (our group of six had thirty people supporting us!).
The porter-to-climber ratio blew my mind. These men and women were machines, they would leave camp after us, carrying massive loads, and arrive before us to set up tents, toilets, and hot meals. Sometimes, if someone in the group was struggling, they would hike back down a kilometer just to help carry a daypack. And all of this while still singing, chatting, and laughing.
We also made a smart decision to upgrade our tents with cots. For about $150 per person for the week, we got a tent that included a cot, mattress, and sleeping bag. It was a twin-sharing setup, so $300 per tent, and worth every penny. Crawling onto the ground after a long day’s hike would have been miserable, but with the cots, we slept comfortably each night and had space to move around.
Looking back, committing to Pamoja, investing in the luxury package, and upgrading our tents were some of the best choices we made. They set the tone for the entire trek: a balance of challenge and comfort, hardship and joy. Without those decisions, the journey would have been much harder than it needed to be.
Building Your Tribe
Once you’ve committed, the next most valuable step is to build your tribe. This doesn’t just mean assembling a hiking group, it means creating a small community that carries you through the months of preparation.
For us, this started with a WhatsApp group. We had nine people in the beginning, though three eventually dropped out before the trek. Still, the chats became our lifeline: we shared photos from our training hikes, posted our workout updates, swapped gear advice, and motivated each other on days when training felt like a chore.
This group was also a practical tool. We compared shopping lists, debated the pros and cons of different boots and rain gear, and double-checked every little item we might need for the hike. The anticipation, excitement, and encouragement created momentum. By the time we landed in Tanzania and met face-to-face, we already felt like friends. I was really glad that my cousin Tejas signed up with me.
That pre-trip bond made a huge difference. On tough days on the mountain, we didn’t feel like six individuals, we felt like a team that had already been through a journey together.
Training for the Climb


Kilimanjaro is not a technical climb, you don’t need ropes or crampons. But don’t mistake that for easy. The real challenge is stamina, altitude, and the grind of walking uphill for hours on end, day after day. Training for this climb is non-negotiable.
I trained for about five to six months before the trek. My routine looked like this:
Strength training: For the first three months, I did two sessions a week. In the last two to three months, I upped it to three sessions a week. This built endurance and power in my legs and upper body, which was crucial for carrying the daypack and keeping pace on steep sections.
Stair climbing: I live in a 12-floor apartment building. The stairs became my training ground. I started with 30 minutes, then built up to an hour, and eventually two full hours of continuous stair climbing. This turned out to be the best preparation for the endless uphill grind on summit day.
Hikes: I did weekend hikes around Bangalore. Most of them were only 2–3 hours, so they weren’t extremely challenging, but they kept me active. The real gem was a monsoon trek in Kudremukha. It was an 8-hour hike, covering 17 km and a 3,500 ft elevation gain. It rained the entire time, which gave me a chance to test my rain gear, waterproof gaiters, and shoes in real conditions. That trek was an excellent precursor to Kilimanjaro.
Looking back, the strength training and stair climbs were game-changers. Without those, I don’t think I would have had the endurance or confidence to push through the 7 day hike and esp the Summit night. Here is a glimpse into the Training plan that I used.
Prepping and Packing


Preparation doesn’t stop at training, it extends to what you pack. The right gear can make your trek comfortable; the wrong gear can make every day miserable.
To get my packing right, I spent hours watching videos from Ultimate Kilimanjaro on YouTube. The channel goes into meticulous detail about every piece of gear, layering strategies, and even daily life on the mountain. That advice was invaluable.
Some key lessons and must-haves from my own experience:
Duffel bag & organizers: I rented a duffel bag (~$20) for the porters to carry. Inside it, I used 8–10 small compartment bags (from Mokabara). Labeling and compartmentalizing saved enormous time and frustration at camp.
Rain gear: Ponchos paired with gaiters worked better than rain jackets and backpack covers. Jackets are fine, but in heavy rain, ponchos kept both me and my daypack dry.
Lantern: This is one item I wish I had brought. Headlamps are great while hiking, but at night in the tent, a small lantern would have made everything easier.
Electronics: An iPhone was more than enough for photos. Don’t lug heavy DSLRs or camcorders. My cousin’s Insta360 was a fun addition, giving us some cool panoramic shots and videos.
The single biggest lesson: keep your daypack as light as possible (≤5 kg). Water, electrolytes, and a few snacks are all you really need. Everything else should go in the duffel for the porters.
A Complete list of things you need to plan the trip.
Health, Safety & Logistics
Beyond gear and fitness, there are health and logistical preparations that are just as critical:
Vaccinations & Medication: We all took Diamox, 125 mg in the morning and evening, starting the day before the climb. On summit night, we added an extra dose (125 mg). It helped immensely with acclimatization.
Visa & Insurance: Apply for your Tanzania visa at least 3–4 weeks before. Carry good travel insurance that covers high-altitude trekking.
Tips: This is a huge part of Kilimanjaro culture. Expect to give 20–25% of the trek cost as tips. Prepare envelopes for each porter, cook, and guide. Carry plenty of $1, $5, $10, and $20 bills. Avoid $100s. At the end, there’s a big tipping ceremony where you hand out envelopes, it’s personal, meaningful, and deeply appreciated by the crew.
Currency & Connectivity: Carry dollars for tips and small expenses. On the mountain, Airtel India roaming worked, but Vodacom was the best local option. Shockingly, we even got 4G signal at some camps.
These things may feel secondary when you’re still in the planning phase, but on the mountain, they make all the difference between stress and peace of mind.
The Trek – Day by Day
Each day on Kilimanjaro is unique, different terrain, different challenges, different memories. Here’s how it unfolded for us:
Arrival (Pre-Hike)


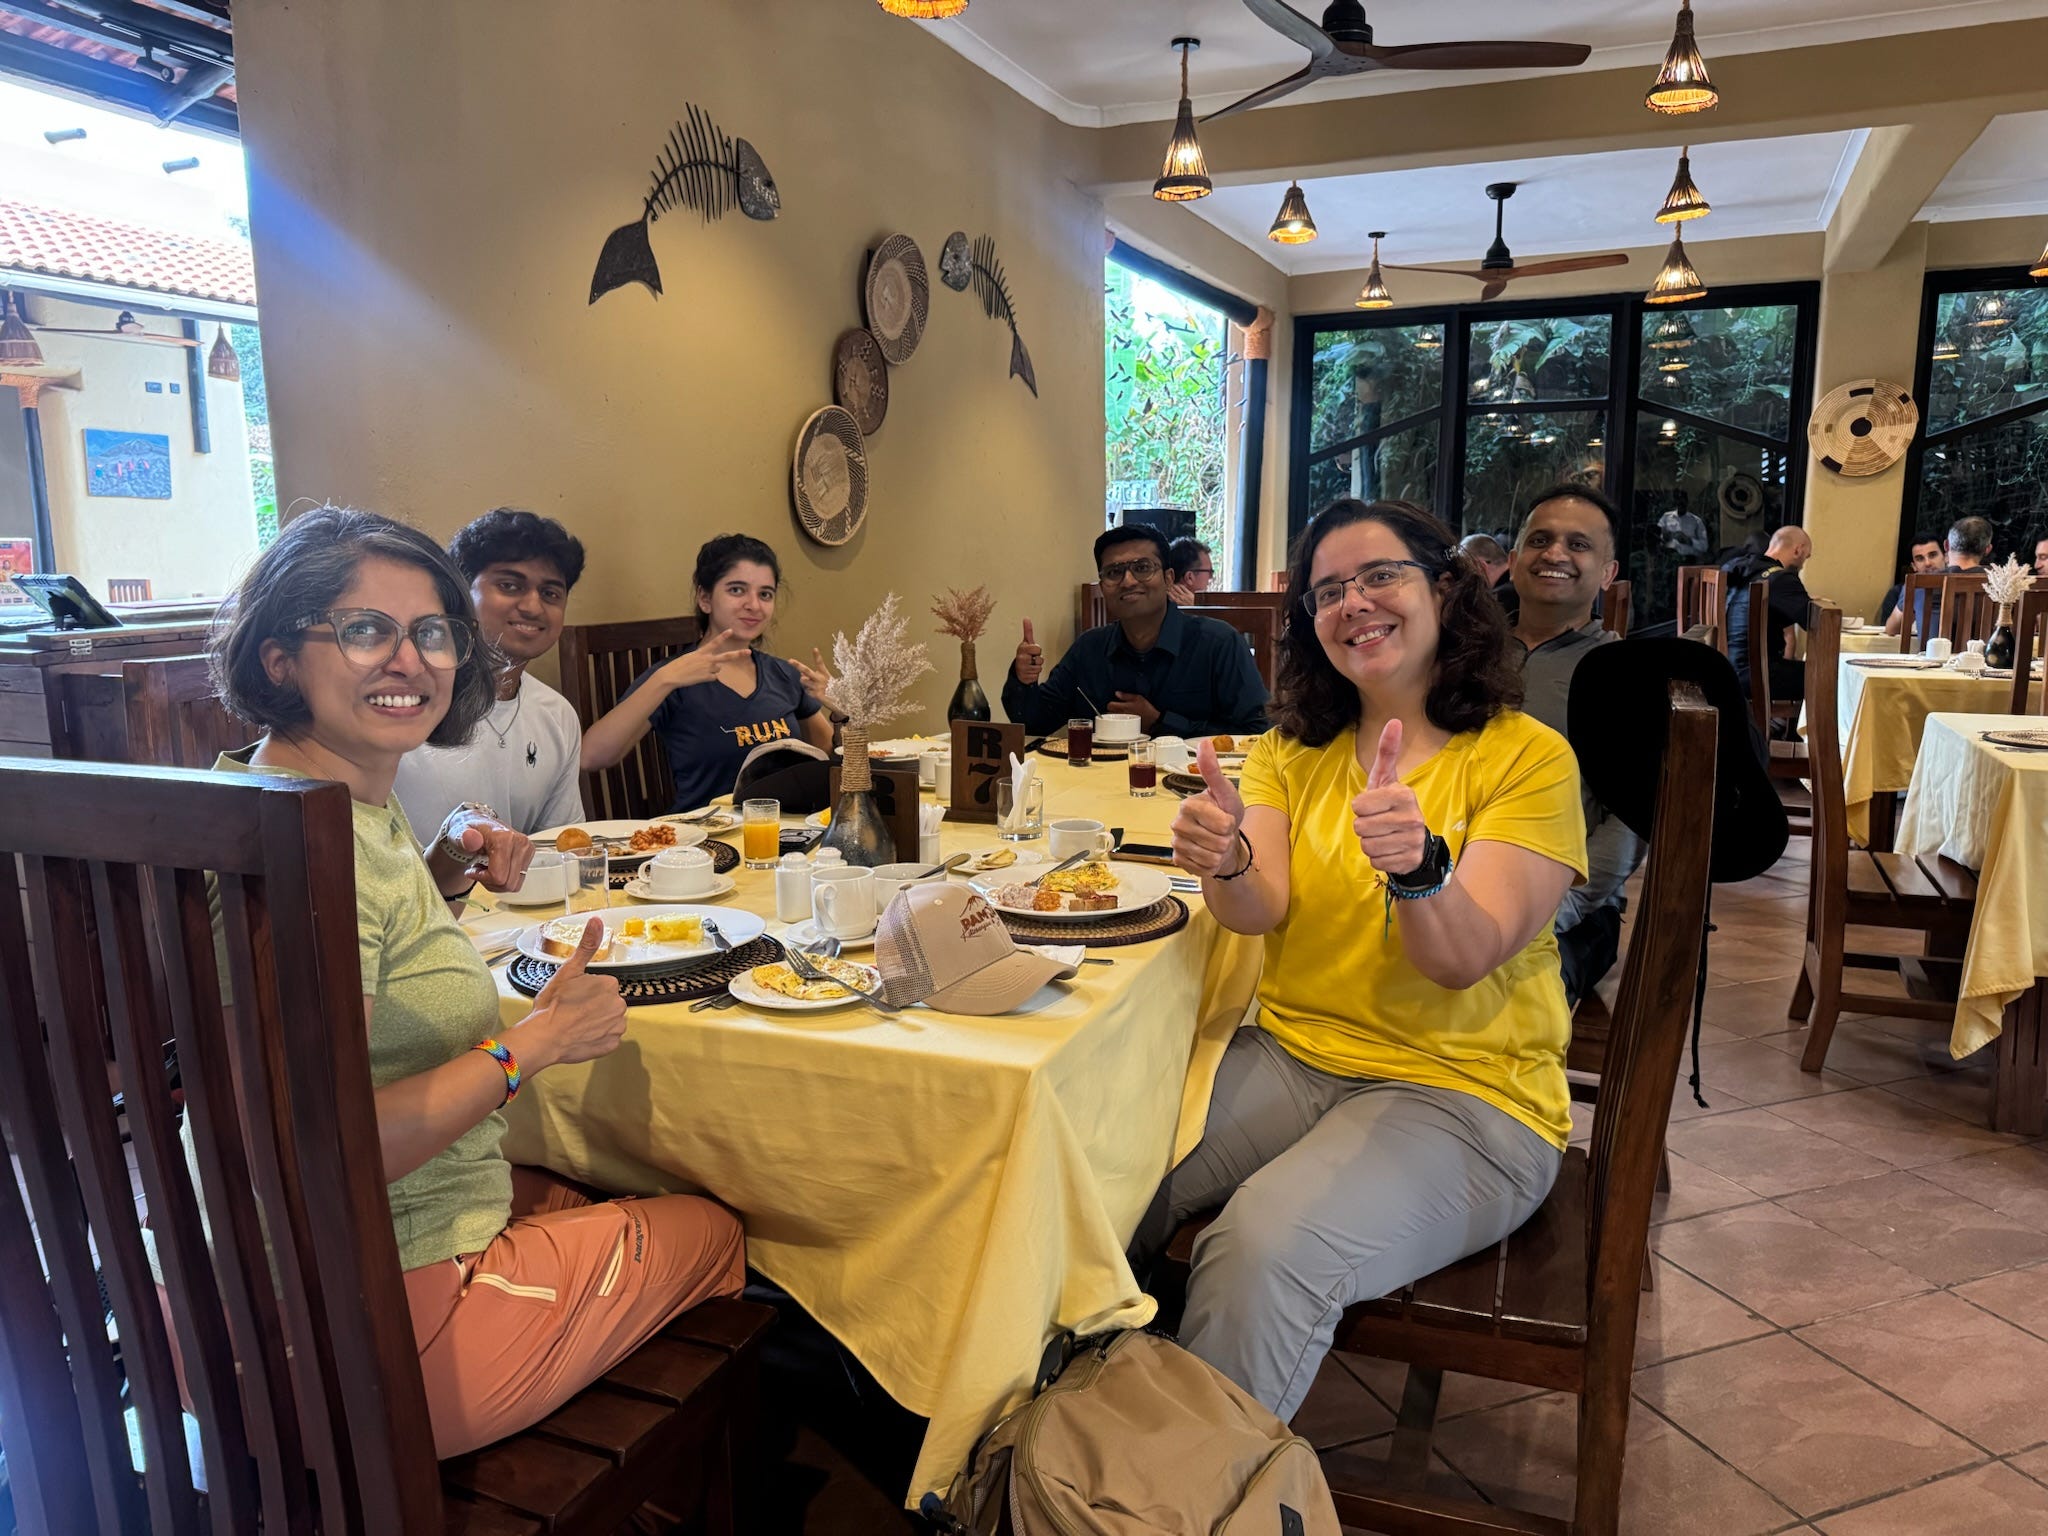
Arrive a day or two early if you can. We landed in Moshi, settled into our hotel, and spent time bonding with the group. We also visited the town, had great coffee, did a little souvenir shopping, and double-checked our gear. Renting the duffel bags here was simple and cheap (~$20). Compartmentalizing everything into labeled bags made camp life so much easier.
Day 1: Machame Gate → Machame Camp


Elevation: 4,380 ft → 9,350 ft
Distance: 11 km | Time: 5–7 hrs | Habitat: Rainforest
Excitement levels were high, and so were our daypack weights (8–9 kg). Big mistake. Ideally, it should be ≤6 kg. The rainforest was lush and wet. Ponchos and gaiters worked far better than jackets. By evening, we reached camp to find popcorn, tea, coffee, and a hot dinner waiting. The food on this trek was consistently excellent, hearty soups, pastas, rice, and more.
Day 2: Machame Camp → Shira Cave


Elevation: 9,350 ft → 12,500 ft
Distance: 5 km | Time: 4–6 hrs | Habitat: Heath
A short but steep day. The trail was rocky, but the views of Mount Meru were spectacular. At Shira Camp, the temperature dropped sharply, and the night sky exploded with stars. For many of us, mild altitude symptoms began here, headaches and nausea. Staying hydrated was the key.
Day 3: Shira Cave → Lava Tower → Barranco Camp


Elevation: 12,500 ft → 15,190 ft → 13,044 ft
Distance: 10 km | Time: 6–7 hrs | Habitat: Alpine Desert
This was a classic acclimatization day, climb high, sleep low. The push to Lava Tower at 15,000 ft was physically and mentally taxing. Heavy breathing, chest tightness, and fatigue were common. Coming down to Barranco felt endless and exhausting, but the night sky there was a reward in itself: galaxies, constellations, and the glowing peak of Kilimanjaro.
Day 4: Barranco Camp → Karanga Camp


Elevation: 13,044 ft → 13,106 ft
Distance: 5 km | Time: 4–5 hrs | Habitat: Alpine Desert
Day 4 was adrenaline-packed, the famous Barranco Wall. Narrow paths, large rock steps, and the famous “Kissing Rock” crossing kept our hearts racing. Porters glided past us with ease, balancing heavy loads. At Karanga, the entire team of porters and guides surprised us with songs and dances, and soon we were all joining in. This was the day we truly felt the spirit of “Pamoja - together.”
Day 5: Karanga Camp → Barafu Camp


Elevation: 13,106 ft → 15,331 ft
Distance: 4 km | Time: 4–5 hrs | Habitat: Alpine Desert
A short but critical hike to base camp. Barafu is a chaotic sea of tents, buzzing with summit anticipation. It’s windy, noisy, and hard to rest. If possible, bring earplugs or even a mild sleep aid like melatonin. This is the calm before the storm, the last chance to rest before summit night.
Day 6: Barafu Camp → Uhuru Peak → Upper Camp


Elevation: 15,331 ft → 19,341 ft → 10,065 ft
Distance: 14 km | Time: 13–14 hrs | Habitat: Arctic
Summit day. The hardest, longest, and most rewarding day of them all. We woke around 10:00 pm, layered up (6 layers on top, 4 on bottom), and started walking by 11:45PM. Sleep-deprived, cold, and exhausted, we shuffled up slowly by headlamp. The water bladder pipes freeze up at this altitude. Bring 2 Nalgene bottles and keep them upside down so the bottom freezes, and you will still have water to drink from the top.
By 5 am, we paused for coffee and snacks, watching the sunrise above the clouds, one of the most breathtaking moments of my life.
The moment that truly struck all of us was when we reached the so-called 'Point of No Return.' This is the spot where, once you arrive, the summit is considered within reach, or at least that’s what it’s known for. Emotions ran high: tears of joy, high-fives, and an overwhelming sense of excitement swept through the group. With that came a renewed surge of energy, fueling our final push toward the peak.
The hike from the point of no return to the first peak (Stella Point) was very tough. The ascent was too steep, but it's doable. Breathe slow and walk slow. Drink water. And that's how we made it. At Stella Point
From there, fatigue hit hard, but we pushed to Stella Point, where emotions overflowed. Tears, hugs, high-fives, we knew the summit was within reach.
An hour and a half later, we reached Uhuru Peak, the highest point in Africa. Flags came out, India, US, Texas A&M. Photos were taken, but more importantly, we soaked in the pride of what we had achieved.
The descent back to Barafu Camp, and then another 2 hours of trek (After a short break) to Upper Camp was brutal on the knees. Knee braces were lifesavers. After nearly 14 hours on our feet, we collapsed into camp, utterly drained but glowing with pride.
Day 7: Upper Camp→Mweka Camp → Mweka Gate


Elevation: 10,065 ft → 5,380 ft
Distance: 10 km | Time: 3–4 hrs | Habitat: Rainforest
The final stretch was wet, muddy rainforest again. By now, the excitement of finishing overshadowed the fatigue. For $2, we even had our muddy shoes and gaiters scrubbed clean, a small but satisfying luxury.
After that, you go to the camp office to wait for your summit certificates, where they also confirm your details. The office has clean toilets and a souvenir shop, but prices are high, better to buy souvenirs outside. Most hiking agencies also arrange lunch afterward. For us, our chef prepared a wonderful meal, and we celebrated with Kilimanjaro beer. There’s also a larger souvenir shop nearby that’s worth browsing.
Back at the hotel, all the guides, porters, and staff gathered for the tipping ceremony. Typically, tips amount to around 22% of the overall trek cost. The team will give you a list of names and suggested amounts by role (guides, porters, chef, etc.). Be sure your main guide receives the highest. Carry plenty of envelopes and small bills (singles, fives, tens, twenties, avoid hundreds). You’ll write each person’s name on an envelope, put in the money, and hand it over one by one during a ceremony with singing and dancing. They truly appreciate the personal touch. Set aside one to two hours the night before to get everything organized.
Once the ceremony was done, we finally enjoyed hot showers at the hotel. Later, our whole group met at the bar to celebrate, sharing stories, photos, drinks, and dinner. We even bought matching t-shirts and took some fun group pictures before calling it a night.


Post-Hike Day
Once the trek ended, we headed to Arusha for a day of relaxation. The Maasai market was full of souvenirs, and the coffee shops offered some of the best brews I’ve ever had. One critical tip: don’t book your return flight too early. Give yourself at least a full day after the trek to recover, wander, and shop.
We also settled expenses with Splitwise and created a shared photo album. Between all of us, we had over 2,000 photos, a treasure trove of memories that captured every moment, from rain-soaked trails to summit smiles.


Final Reflections
Kilimanjaro is not just a hike. It is a test of resilience, preparation, and teamwork. Every decision, from the trekking company you choose to the strength training you commit to shapes your experience.
Standing at Uhuru Peak, I felt pride, gratitude, and joy in equal measure. Pride in summiting, gratitude for the team that carried us, and joy in sharing the journey with new friends.
If you’re dreaming of Kilimanjaro, take the first step. Commit, prepare, and let the mountain teach you just how much you’re capable of.


